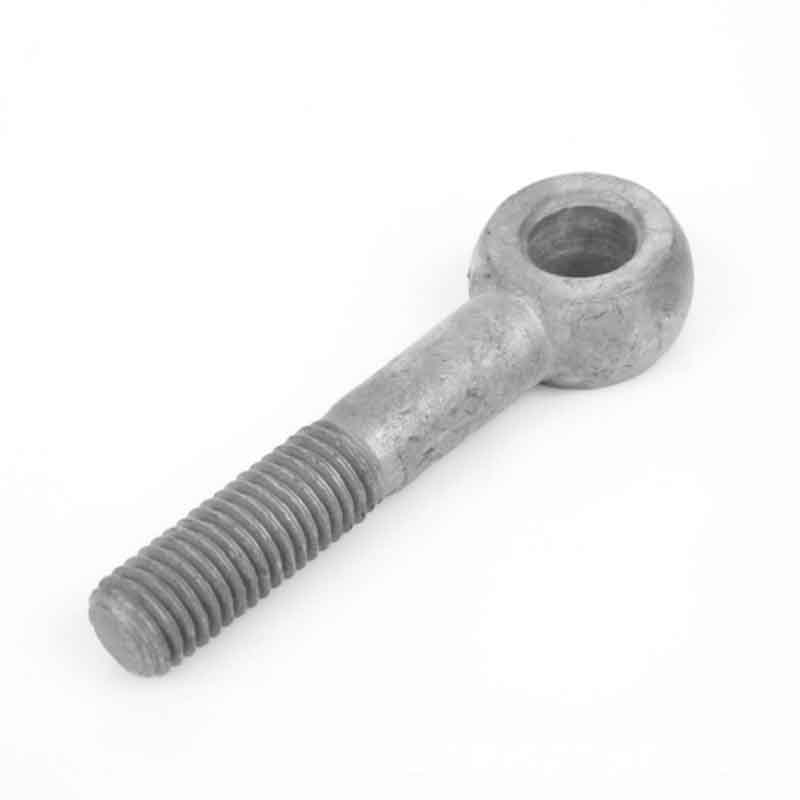
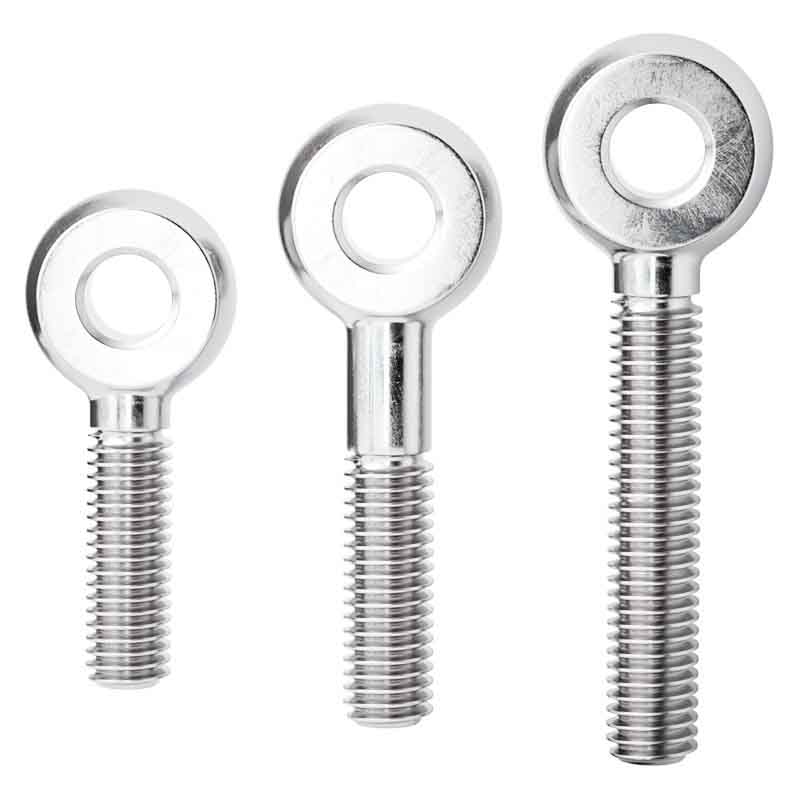
Precision Engineered Face Projection Welding Bolt
Send Inquiry
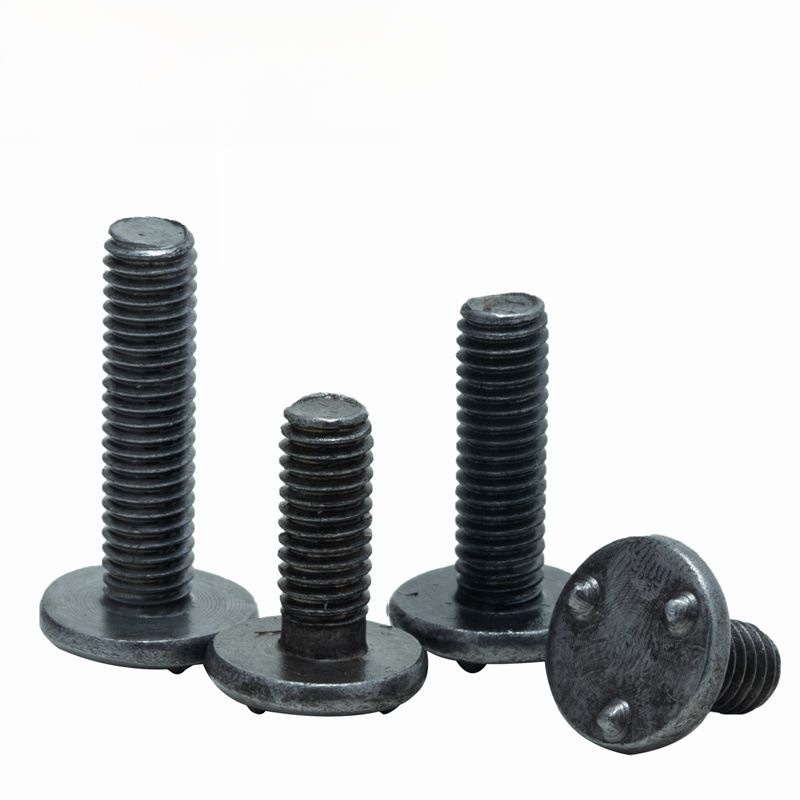
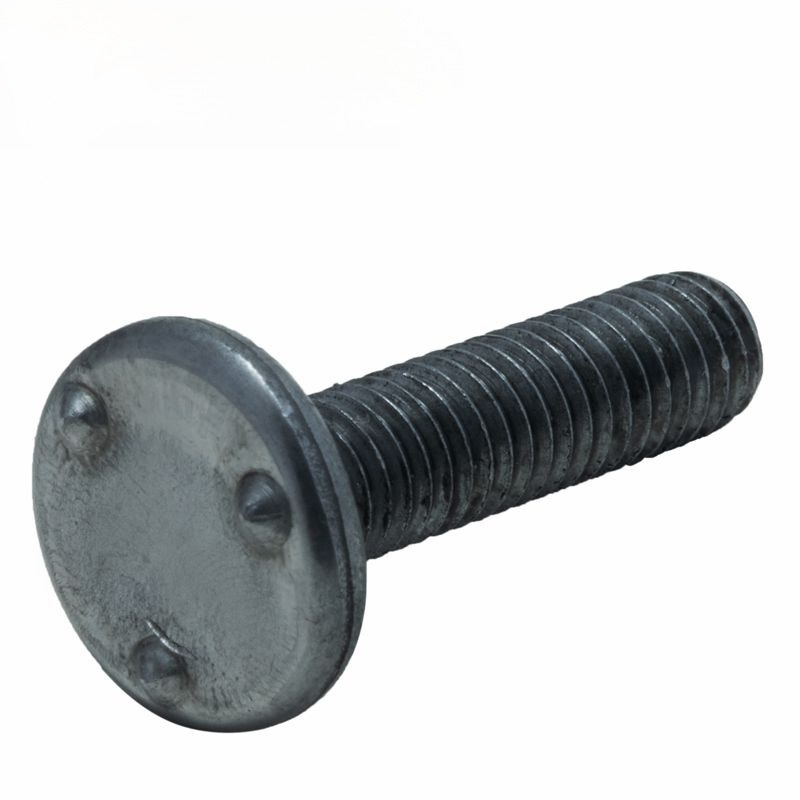
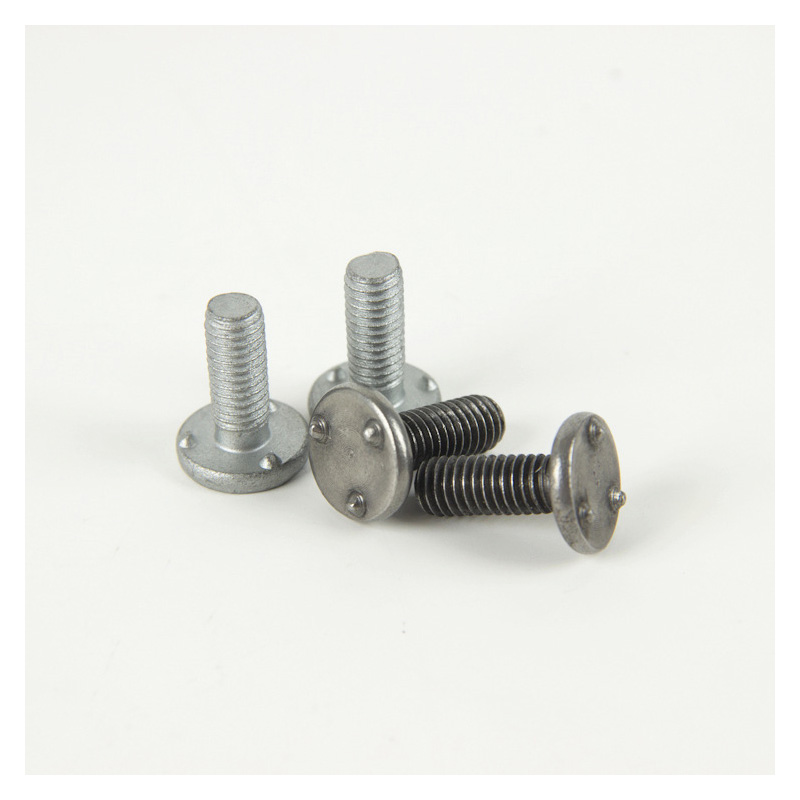
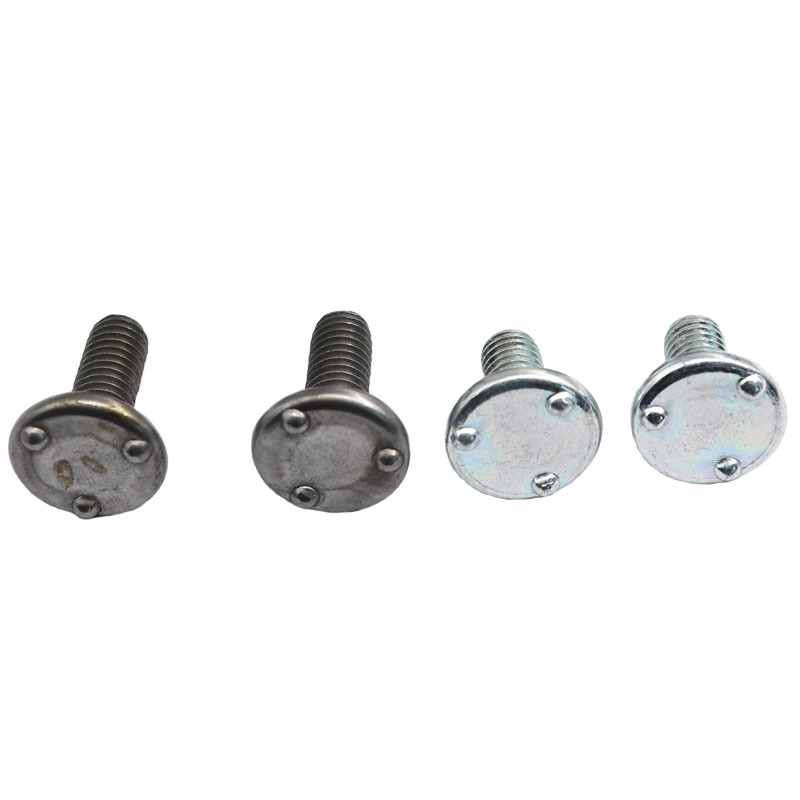
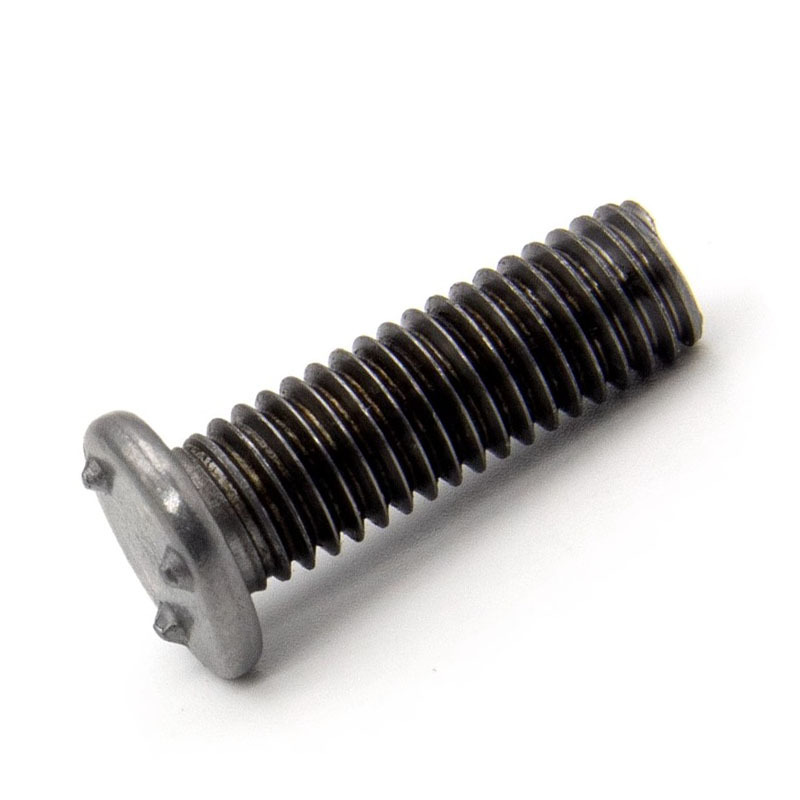
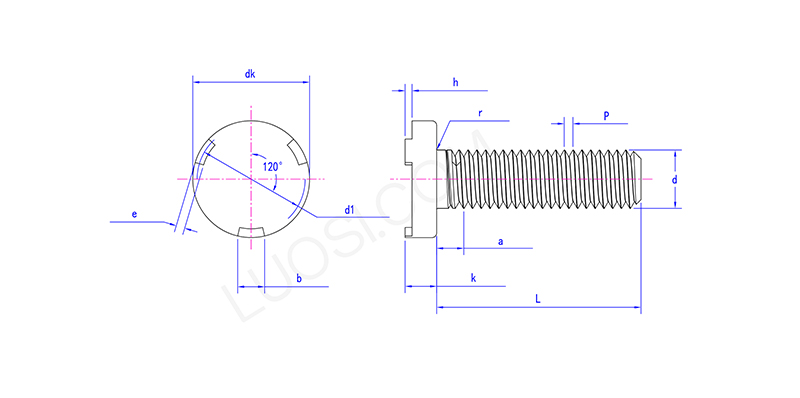
Precision engineered face projection welding bolts follow standard sizes and thread specs—like ISO metric threads (M4, M5, M6, M8, M10) or Unified threads (UNC/UNF). Important measurements include thread size and length, shank diameter, head diameter and thickness, and most importantly, the shape of the projections (how tall they are, their diameter, how many there are) on the part where the bolt gets welded.
Product Benefits
The way the projections are designed on a Precision engineered face projection welding bolt—like a ring around it or several little bumps—really matters for getting consistent welds. There are standard designs that work for most common uses, but you can also get custom ones made.
In the customized precision engineering surface, the protruding welding bolts are professionally calibrated and adjusted to accurately adapt to different material thicknesses and strength standards. Even when facing difficult materials such as high-hardness alloys and brittle substrates, they can ensure connection stability and structural safety to meet personalized engineering needs.
| Mon | M5 | M6 | M8 | M10 |
| P | 0.8 | 1 | 1.25 | 1.5 |
| dk max | 12.4 | 14.4 | 16.4 | 20.4 |
| dk min | 11.6 | 13.6 | 15.6 | 19.6 |
| k max | 2 | 2.2 | 3.2 | 4.2 |
| k min | 1.6 | 1.8 | 2.8 | 3.8 |
| e max | 2.25 | 2.75 | 2.25 | 2.75 |
| e min | 1.75 | 2.25 | 1.75 | 2.25 |
| b max | 3.3 | 4.3 | 5.6 | 6.3 |
| b min | 2.7 | 3.7 | 4.7 | 5.7 |
| h max | 0.8 | 0.9 | 1.1 | 1.3 |
| h min | 0.6 | 0.75 | 0.9 | 1.1 |
| d1 max | 10 | 11.5 | 14 | 17.5 |
| d1 min | 9 | 10.5 | 13 | 16.5 |
|
r max |
0.6 | 0.7 | 0.9 | 1.2 |
| r min | 0.2 | 0.25 | 0.4 | 0.4 |
| a max | 3.2 | 4 | 5 | 5 |
Quality inspection and certification
To get consistent welds with Precision engineered face projection welding bolts, keep the base metal surfaces clean. Use electrodes that are designed right and in good shape. Stick closely to the welding settings—current, time, pressure, hold time. And make sure the bolt’s projections are consistent.
Doing regular destructive tests, like torque or shear tests, is important to keep the process under control.


