
- English
- Español
- Português
- русский
- Français
- 日本語
- Deutsch
- tiếng Việt
- Italiano
- Nederlands
- ภาษาไทย
- Polski
- 한국어
- Svenska
- magyar
- Malay
- বাংলা ভাষার
- Dansk
- Suomi
- हिन्दी
- Pilipino
- Türkçe
- Gaeilge
- العربية
- Indonesia
- Norsk
- تمل
- český
- ελληνικά
- український
- Javanese
- فارسی
- தமிழ்
- తెలుగు
- नेपाली
- Burmese
- български
- ລາວ
- Latine
- Қазақша
- Euskal
- Azərbaycan
- Slovenský jazyk
- Македонски
- Lietuvos
- Eesti Keel
- Română
- Slovenski
- मराठी
- Srpski језик


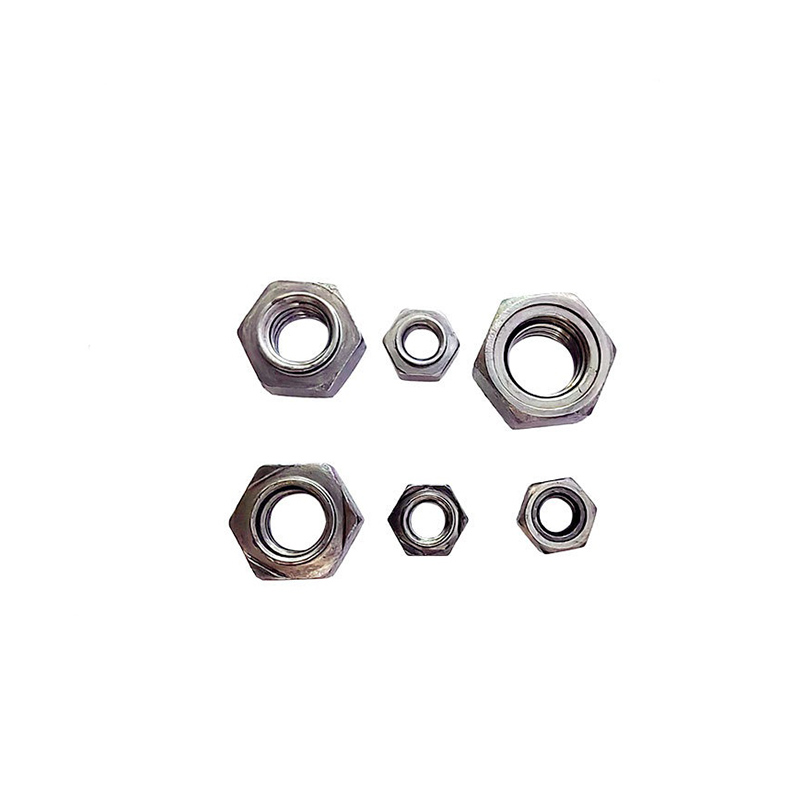
Hexagon Welding Nuts
The welding points of Xiaoguo® Hexagon Welding Nuts have superior anti-corrosion performance compared to threaded fasteners after undergoing surface treatment. They can be used in various working environments. Specialized products can be customized upon request.
Send Inquiry
Product Description
The guide pin structure of Hexagon Welding Nuts refers to adding a raised positioning guide pin (Pilot) at the center of the nut's bottom surface. Compared to ordinary welding nuts without guide pins, the structure with guide pins has the following five core advantages:
(1)Precise positioning to prevent welding deviation
The guide pins are inserted into the pre-drilled positioning holes of the workpiece, achieving concentric positioning of the nut and the hole, thereby avoiding welding deviation or nut tilt caused by positioning errors.
(2) Preventing welding slag and protecting thread cleanliness
During resistance spot welding, a small amount of metal splashing occurs. The guide pin extends into the workpiece hole, forming a physical barrier that effectively prevents the splashing material from entering the thread hole. The threads remain clean after welding.

(3)Suitable for automated production lines
The guide pin structure is convenient for the vibration table to automatically sort and feed materials. The guide pin can serve as a positioning reference, and when combined with a mechanical hand or automatic welding machine, it enables high-speed and high-precision welding.
(4)Improve welding consistency
The guide pins ensure that the welding position of each Hexagon Welding Nuts is completely consistent, eliminating random errors caused by manual placement or electrode positioning. The stability of welding parameters is also better.
(5)Reduce overall costs
Although the single-piece cost of the threaded nut with a retaining pin is slightly higher than that of the non-threaded type, it eliminates the processes of post-welding thread cleaning and position adjustment, reducing the scrap rate and rework costs. In mass production, the overall cost is actually lower.

| Mon | M4 | M5 | M6 | M8 | M10 | M12 |
| P | 0.7 | 0.8 | 1 | 1|1.25 | 1.25|1.5 | 1.25|1.75 |
| s max | 11 | 11 | 13 | 15 | 17 | 19 |
| s min | 10.57 | 10.57 | 12.57 | 14.57 | 16.57 | 18.48 |
| H max | 5 | 5 | 6 | 7.5 | 9 | 11 |
| H min | 4.7 | 4.7 | 5.7 | 7.14 | 8.64 | 10.57 |
| d1 max | 6.9 | 6.9 | 8.9 | 10.9 | 12.9 | 14.9 |
| d1 min | 6.7 | 6.7 | 8.7 | 10.7 | 12.7 | 14.7 |
| h max | 0.8 | 0.8 | 0.8 | 0.8 | 1.2 | 1.2 |
| h min | 0.6 | 0.6 | 0.6 | 0.6 | 1 | 1 |
| h1 max | 0.5 | 0.5 | 0.5 | 0.5 | 0.7 | 0.7 |
| h1 min | 0.3 | 0.3 | 0.3 | 0.3 | 0.5 | 0.5 |
Thread maintenance
(1)When assembling the bolts: First, manually screw in 2 to 3 turns. After confirming the alignment, use a tool to tighten them to prevent misalignment and damage to the threads.
(2)Torque control: Do not exceed the recommended torque for the Hexagon Welding Nuts (e.g. M8 nuts ≤ 30 N·m). Avoid cracking of the weld points or thread loosening.
(3)Handling of threaded blockage: If welding splatter enters the threads, a tap can be used to clean them. During the operation, keep the tap perpendicular to the nut and slowly insert it.
(4)Loose nut: Cannot be repaired. It needs to be re-welded with a new Hexagon Welding Nuts in its original position or nearby.
Hot Tags: Hexagon Welding Nuts, China, Manufacturer, Supplier, Factory
Related Category
Hexagon Nut
Square Nut
Hexagon Flange Nut
Lock Nut
Cap Nut
Hexagon Slotted Nut
Hand Screw The Nut
Round Nut
Hubs Nuts
T-nut
Reed Nut
Other Nuts
Send Inquiry
Please Feel free to give your inquiry in the form below. We will reply you in 24 hours.